Unfortunately they all seemed to require a glue gun (Which I don't have) or they looked distinctly Bride/wedding themed which is not the look I was going for. I realised I was going to have to make it up as I go along.
Here are my instructions on how to get the headpiece I made:

Some random fabric scraps, a headband, thread, a needle, lace,nail polish (coloured or clear)or a sharpie, and scissors.
1. Cut out 2 big circles of fabric and one little circle, I used the base of a cup and cut it out jagged. It won't matter how neat you are as you won't see the edge in the finished product.
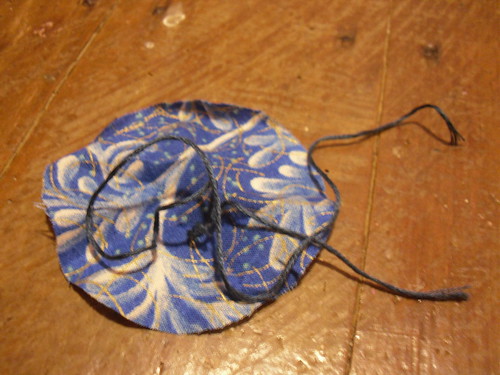
2. Take the first circle and scrunch it up into a remotely flower shape. Sew it tightly so that it will stay in place. Repeat with the second circle . The third circle needs to be rolled up to resemble a bud with a couple of stitches through the centre.
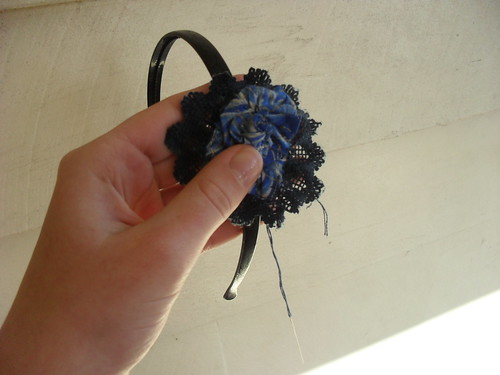
3. Sew the two big circles together however you think they look best. Then place the fabric bud in the centre and stitch it all together firmly.
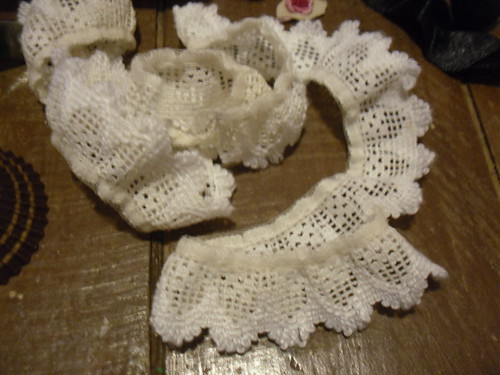
4.Take the lace and place it around the edge of the fabric so that it forms a frill. Sew it firmly.
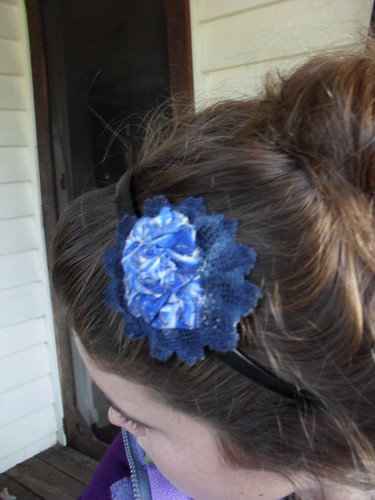
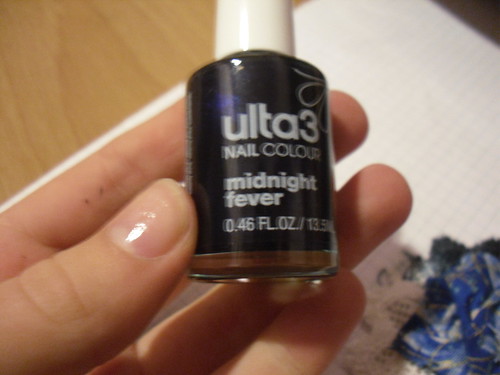
5. Cut off any loose threads and arrange the flower neatly. Take a nail polish, if you like the orginal colour of the lace then I suggest using a clear polish however I decided to use Midnight Fever ($2.00) which I found at a local chemist.The polish stiffens the lace so that it will sit firmly against your head.
6. Carefully paint the lace with polish until the whole of the lace is covered. Allow the flower to dry completely before moving on to the next step.


Enjoy!
No comments:
Post a Comment