Tuesday 28 August 2012

Cupcakes

Today I finished my cake decorations. I finally got around to making some cupcakes (See below) and whilst I may have left them in the oven to long, after cutting the overflowing edges off, they turned out rather well.

SAM_0863

I used the fondant in it's original pink colour (The recipe called for white marshmallows, but I had pink ones handy!) and rolled it out very thin. I spread this over the top of the cupcakes and used the decorations I had made previously.

SAM_0868

I still had heaps of fondant left over, even though I cut the original recipe in half. So I made some blue, green and black fondant. I made little squidgy flowers out of small balls of pink fondant with some green for the centre, and left the black fondant with some swirls in it.

SAM_0869

I'm not expecting they will last much longer; my little brother is on the cupcake prowl!

Monday 27 August 2012

Fancy Cakes

I have been rather slack on the hair-attire pieces as I have been cooking instead!

I follow this wonderful blog called Cake Whiz.   This wonderful lady makes cakes/cupcakes/biscuits and various other delicious edibles. Today, I decided, was the day to try out her recipe for fondant.

It worked!!!!

SAM_0839

I used H-E-A-P-S of Icing-sugar and marshmallows, and it was delicious. It melted a little in our warm spring weather but I just stuck it in the fridge for a while.
I would suggest adding a little lemon/lime juice for a fruity flavour but apart from that, I coloured it and made:

SAM_0848

As well as these:
SAM_0844

And as I am completely impressed with my new found cake decorating skill I'll show you them again, except this time~ Together!

SAM_0850

Have you been admiring my beautiful nails in the first photo? No? Well here is a closer look:

SAM_0831

Don't worry, I did clean up around the edges with some nail remover and Cotton wool.I just forgot to take a photo of the finished effect :) 

SAM_0842

Oh, I almost forgot! Here is the cake Chrysanthemum made to put the cake decorations on. A gorgeous butter cake, perfect~

Sunday 19 August 2012

Green Vine Flower hair piece


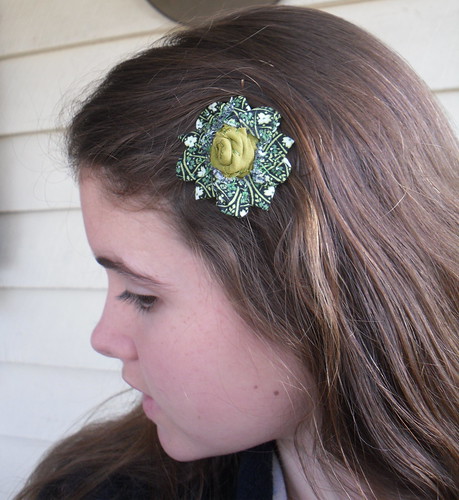
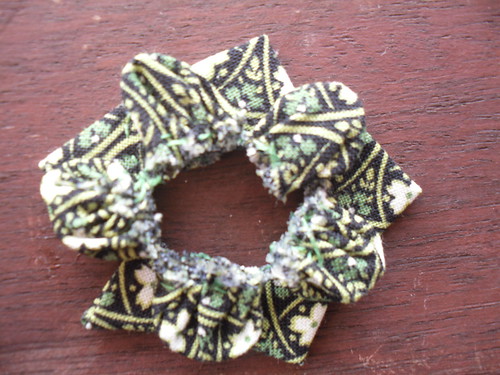
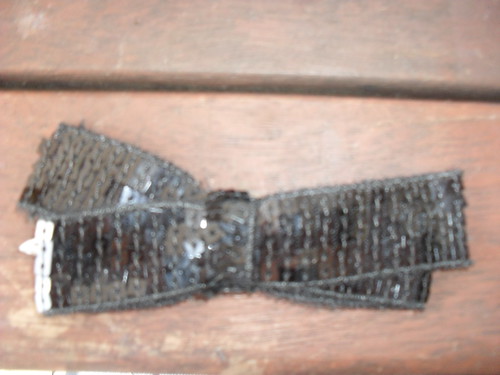
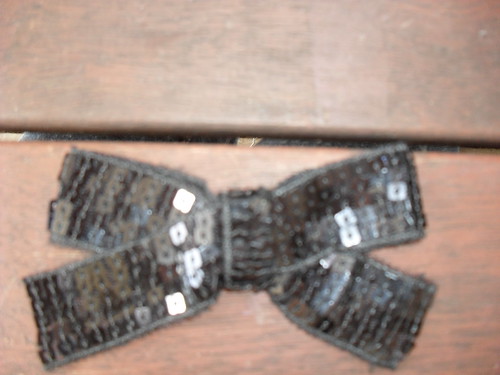
Today was a glorious sunny day, and what better way to enjoy it, then to sit outside in the warmth and make this cute hair piece:

SDC10747
It didn't turn out how I had planned, but I still think it's pretty.

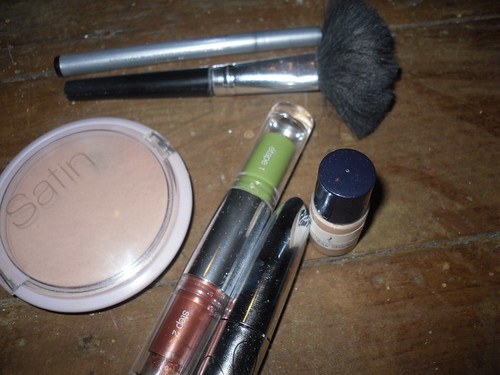
To make this flower you will need:

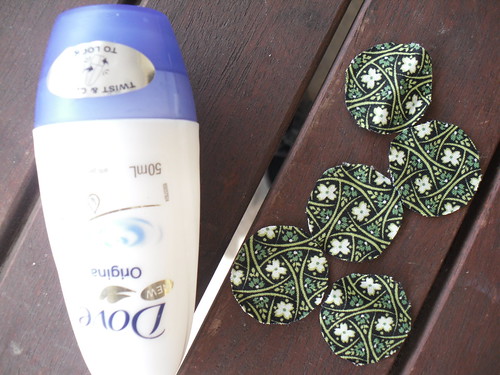
A needle and thread, a pen, fabric scissors, enough fabric for 10 small circles, a more subtle fabric for the centre and back and a roll-on Dove deodorant lid.

1.  Lay out your first fabric and draw 10 circles around the outside of the Dove deodorant lid. Cut them out neatly (The edge will be visible in the finished flower).

SDC10703

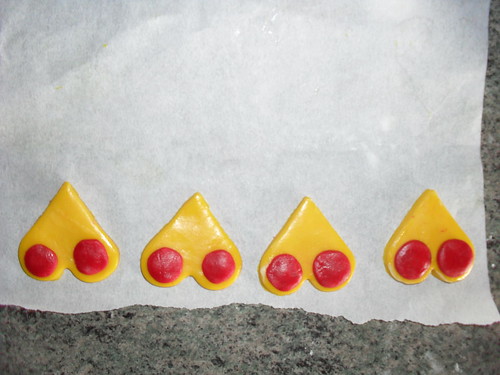
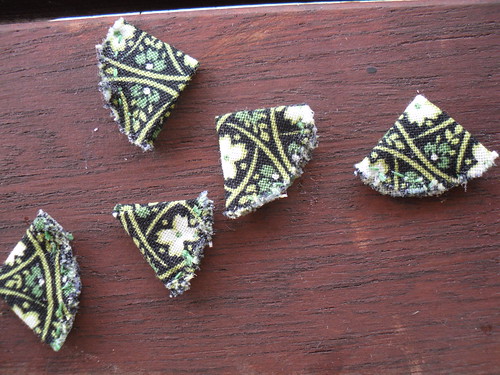
2. Take 5 of the circles. Fold each circle in half, then in half again. You should end up with triangular shapes like these:

SDC10706

 Sew along the edge of each triangle.

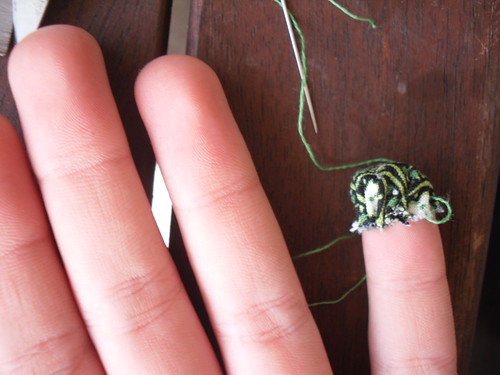
3. Take the other 5 circles and your needle and thread. Sew around the edge of each circle on the wrong side of the fabric. Your stitches should be about 0.2 cm away from the edge.

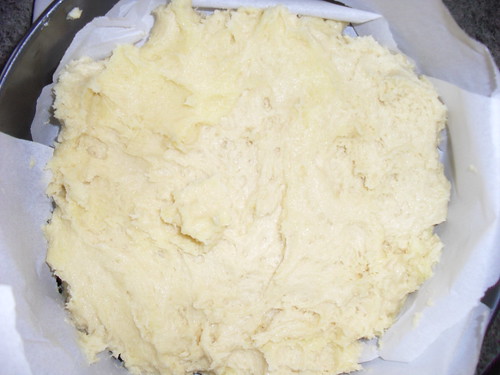
4. Place your little finger in the centre of each circle and pull your thread tight. It should look like this:

SDC10712

Remove your finger, pull the string completely tight and stitch through the end of each petal.
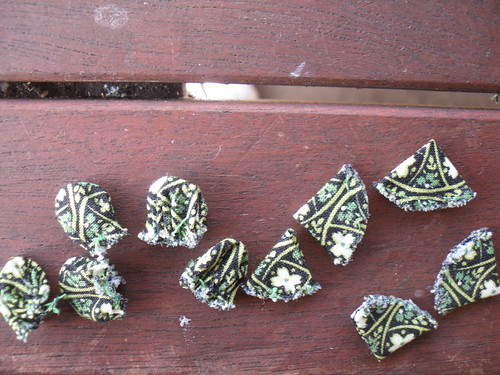
You now have:
SDC10723

5. Lay your triangles and petals like this:

(With the petals on top, and the triangles underneath)

SDC10725

 -And sew in place.

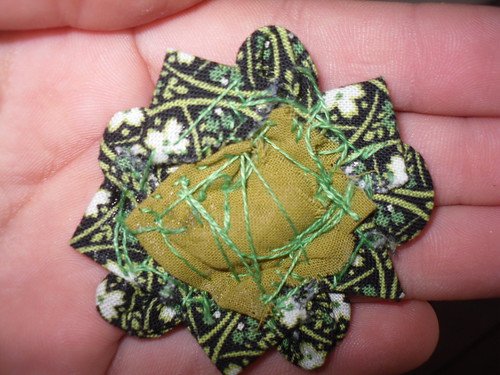
6.Add a square of your other fabric to the back, making sure it doesn't peek out around the edge of the flower. Sew in place.

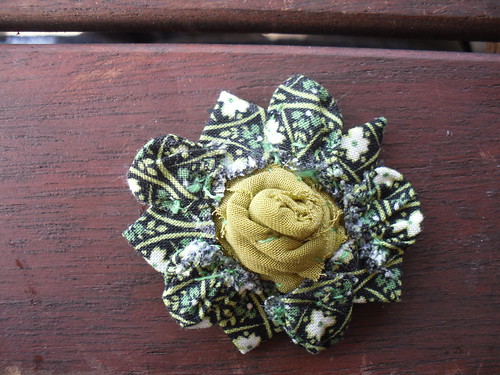
7.Roll up a rectangle of the same fabric from 6 and then roll it up the other way to form a bud shape. Sew into the centre of your flower. Like so:

SDC10733

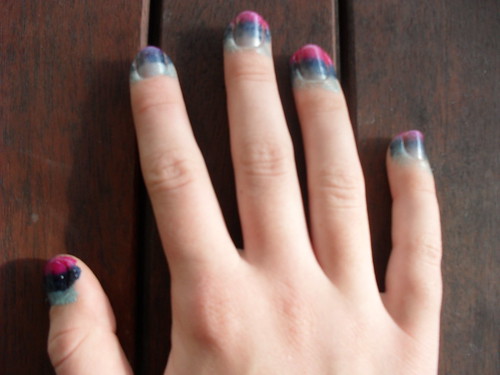
For extra support add clear nail polish the threads at the back.
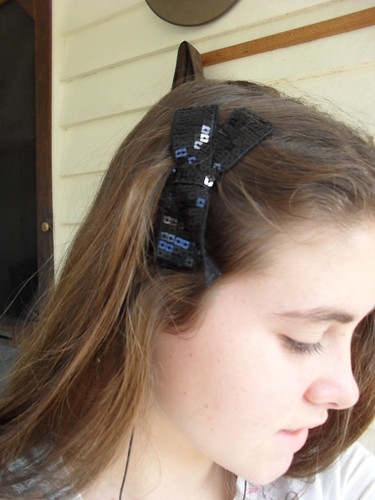
SDC10735
 

 And you're done!
 TA DA!

Saturday 18 August 2012

Rust and Green eye make up

I bought this double-ended roll-on eyeshadow a while ago, and I recently tested it out. I bought it from my local chemist and it cost me around $5.00. It is super easy to use, and doubles up as a really cool lipstick.

You can get in several shades, however I purchased the Rust and Green version:(Below)


SDC10552

I created this effect using the green end of the eyeshadow as a base and adding the rust over the top at both ends of my eyes. I added a top coat of mascara and drew a then line of liquid eyeliner along my bottom lid

SDC10580


I used a light dusting of pale powder on my face and added a thin coat of black eyeshadow on my eyebrows to darken them. I drew a little point at the end of my eyebrows and carefully blended it in.

SDC10601

To enhance this effect I rubbed a small amount of pale foundation under my eyebrow and under my eye. This gives you a more even skin tone and brings the focus to your eye and the eyeshadow you are wearing.


Handy Tip: When I applied the mascara I forgot to add a coat to the top of my eyelashes, not just the bottom. This meant that any eyeshadow which had stuck to my lashes was visible when my eyes were closed (See image below). To avoid this add a thin coat to the top of your lashes, or if you're not a fan of mascara gently pull your lashes through a tissue to remove the excess eyeshadow.


SDC10559

Wednesday 15 August 2012

Junk to jewels~ Black Bow

Following on from my last post. I finally got around to fixing up my 'maid style' hair piece, unfortunatly I forgot to upload the photos.I will show you the adjustments I made in my next blog post.

I did however upload the photos I took of my new bow. I cut this bow off a rather ugly beanie which I found in my cupboard. The bow was sparkly and rather cute (If a little lopsided) so I snipped it off.

To keep it from going wonky in my hair (See original appearance of bow below) I added a couple of black stitches to encourage it to sit in a real bow shape.


SAM_1648

This may seem very simple to all the craft savvy people out there, but you might be surprised at the number of times I have heard my friends say "I had this old jumper in my wardrobe with these cute buttons/bows/flowers on it, but it had holes in it. So I threw it out.'

What??? Potential cool hair thingy thrown away!!!! Shock! Horror!

Anyway, back to being serious. Here is the bow sewn into it's proper shape.


SAM_1649


See the difference? No? Perhaps this photo will give you a better idea:

SAM_1658
 
Personally I think it makes a cute hair piece (I slipped a bobby-pin through it, but a hair clip/clasp would work as well).